
Assignment: Indoor Photography Practice
Part 1: Indoor Exposure Practice
Go to different places inside your house that have different amounts of light.
At each location:
Set your exposure using the indoor light chart
Keep your aperture as wide open as possible (smallest f-number).
Use the slowest shutter speed you can hand-hold without camera shake.
Adjust your ISO up or down to correctly expose the image.
Take a photo in each lighting situation.
Repeat this process as many times as you can in different rooms or lighting conditions.
Part 2: Aperture and Depth of Field
Line up several figurines or objects in a row.
With your aperture wide open, focus on the front object and take a photo.
Notice how many objects are in focus.
Now close down your aperture slightly (use a larger f-number).
Adjust your ISO as needed to keep the exposure correct.
Take another photo.
Repeat this several times, closing the aperture a little more each time.
Compare the images to see how aperture affects depth of field (focus).
Part 3: Shutter Speed and Motion
Set your:
Shutter speed: 1/100
Aperture: Wide open
Adjust your ISO until the image is properly exposed.
Ask someone to wave their arms in front of the camera.
Take a photo.
Are the arms blurry? (Yes)
Increase your shutter speed to 1/200 and take another photo.
Still blurry? Try 1/500.
If motion blur still appears, try an even faster shutter speed.
Observe how increasing shutter speed affects motion blur.
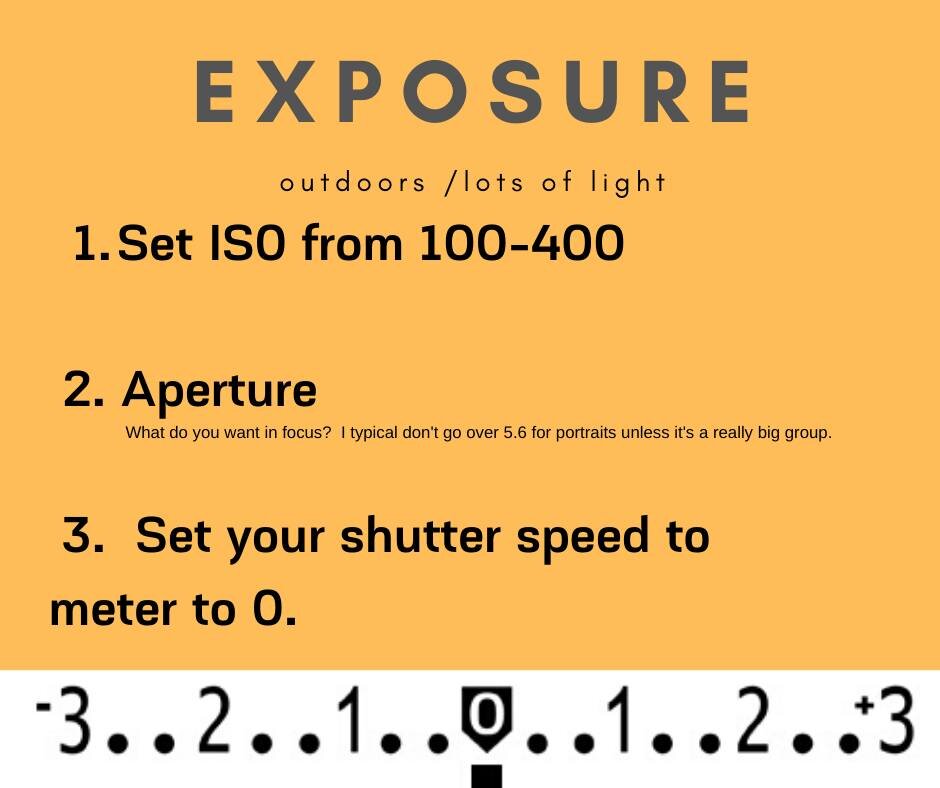
Outdoor pictures:
Being outdoors in lots of light changes everything. Try playing around with aperture. What is the difference between a tree at 3.8 aperture vs. 16 aperture.
Take pictures in the morning, noon time, and then in late evening. Notice the different settings you need to expose your image correctly.